
Pattern Blocks Quick Image
Primary (Age 6 – 9)
Curriculum Goal
Primary: Geometry and Spatial Sense
- Compose and decompose two-dimensional shapes, and show that the area of a shape remains constant regardless of how its parts are rearranged
- Describe and perform translations, reflections, and rotations up to 180° on a grid, and predict the results of these transformations
Context
- Students apply and then describe their spatial thinking skills by recalling the details of an image shown to them momentarily.
- Students should have previous knowledge of symmetry and lines of symmetry.
Materials
- Computer and projector
- Part 1: Composition Slide Deck (Appendix A)
- Part 2: Symmetry Slide Deck (Appendix B)
- Pattern blocks (four of each kind per student)
- Cookie sheet or hard surface with a line of symmetry drawn in black marker (per student)
Lesson
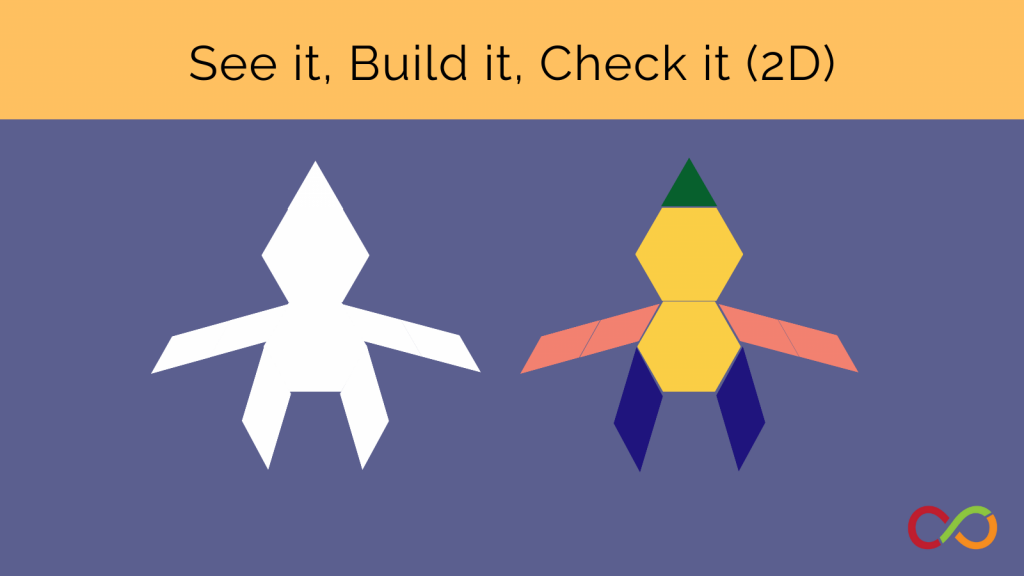
Part 1: Composition
- Distribute four of each kind of pattern block to each student.
- Explain to students that you will be showing them an image and their task is to hold the image in their mind. Inform students they will use their memory to recreate the image using pattern blocks.
- Flash a challenge from the Composition Slide Deck (Appendix A) for five seconds. Advance to the next slide, which is blank.
- Students should not start recreating the image until the image is hidden.
- Students will use their pattern blocks to recreate the image from memory.
- Depending on the complexity of the shape and the needs of the students, the image can be shown again to allow students to notice additional features.
- When students have finished recreating the image, advance to the next slide, which has the solution. Students can compare the original image to their interpretation.
- Ask students to discuss the challenge with a partner. Students should describe the process of recreating the image using pattern blocks to each other and compare their final images.
- Facilitate a discussion about how students approached the challenge. Consider asking the following:
- How many pattern blocks in all were needed for this picture? How many kinds of pattern blocks did you use?
- Which pattern blocks did you place first? Why?
- Can you suggest a way to make it easier to count the pattern blocks? (e.g., counting all pattern blocks of one colour before proceeding to the next colour, then adding all the pattern blocks of each colour together)
- How did you remember the image?
- What does the word symmetrical mean? Was the image symmetrical? Why or why not?
- Can you create a new image with the same pattern blocks? How many pattern blocks would be needed? How many kinds?
- Repeat the same instructions for the following challenges.
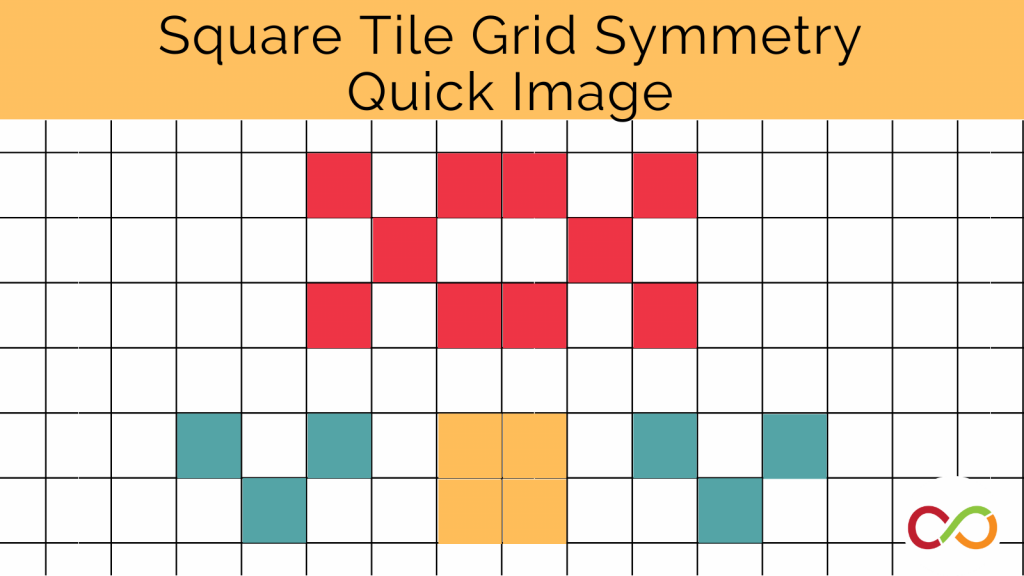
Part 2: Symmetry
- Distribute four of each kind of pattern block to each student, as well as a cookie sheet (or similar board with a flat surface) with a solid line running vertically from the top to the bottom (when rotated 90 degrees, this line will run horizontally from left to right).
- Tell students: This time, you will be shown half of an image. Your task is to use your memory to complete the missing half of the image so that it is a reflection or symmetrical to what you saw.
- Before proceeding, ask students: Where have you seen symmetry in nature? (e.g., butterflies, leaves, crabs, shells, flowers, insects).
- Flash a challenge from the Symmetry Slide Deck (Appendix B) for five seconds. Hide the image by progressing to the next slide, which is blank.
- Remind students to rotate their cookie sheets based on the location of the line of symmetry in the image. When students understand the task, they can decide how the cookie sheet should be oriented before completing the challenge.
- Encourage students to create the other half of the image from memory, ensuring that each pattern block they place is symmetrical to a shape in the original image.
- Some students may choose to create the original as well as the reflected image, whereas others might choose to create the reflected image only.
- When students are finished recreating the image, proceed to the next slide, which has the solution. Students can compare the solution to their own image.
- Facilitate a discussion about how students approached the challenge. Consider asking students:
- How many pattern blocks in all were needed for this picture? How many kinds?
- How did you remember the image?
- How did you make sure the image was symmetrical?
- Did the image have a horizontal, vertical, or diagonal line of symmetry?
- Can you transform the pattern blocks from the first half of the image to create the second half of the image? Which transformations would you use?
- Repeat the same instructions for the following challenges.
Look Fors
- Do students understand the meaning of symmetry?
- What strategies do students use to remember and rebuild the images?
- How do students determine how many blocks they have used? (e.g., There were three blocks on the image, so when building the other half of the image I knew there would be six blocks in total because 3+3 is 6.)
Extension
- Encourage students to challenge one another by creating an image that another student must create the reflection of.
Related Lessons
A possible introductory activity, students recreate the missing half of a symmetrical image.
A possible extension, students recreate a structure from memory using pattern blocks.
Share this lesson
Share on facebook
Share on twitter
Share on email