Explain to students they will be judges in an architecture show that requires all sculptures entered to have a very specific top view.
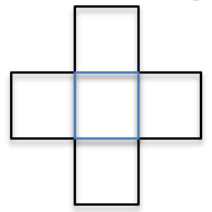
Show students the cross top view (Fig. 3), possibly provide each student with a copy.
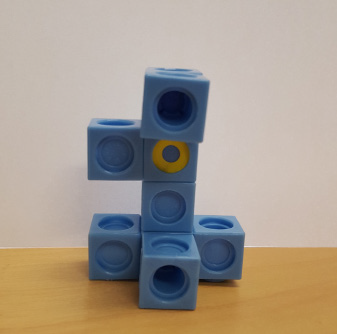
Ensure students understand what the top view is by using a “sculpture” as an example. Explain that there may be many ways to have the same top view.
Invite students to walk around and look down at the sculptures to ensure each qualifies for the show (i.e., have the correct top view).
Warn students there may be some sculptures that do not have the correct top view.
After several minutes of investigating, have students announce the ineligible sculptures.
Remove the disqualified sculptures; there should be 12 remaining. Distribute one to each child.
Part 2: Front views and side views
Give each child the sheet with all six front views (Appendix B).
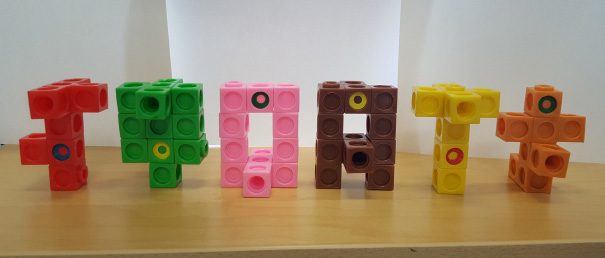
Explain that the sculptures’ front views are marked by stickers. Have students identify which of the six drawings corresponds with their sculpture.
Have students draw the side view of their sculpture on 2 x 2 cm grid paper.
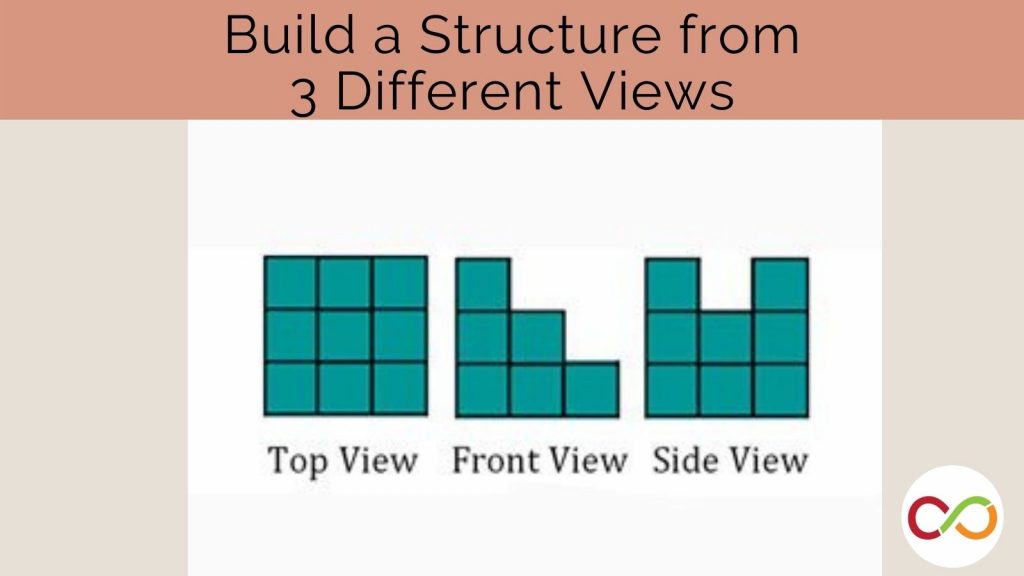
Part 3: Build a sculpture and draw the three different views
Invite students to build a sculpture of their choice with eight single-coloured cubes and mark the front side with a sticker.
Have students draw and label each of the views on a grid paper.
Look Fors
Are students able to differentiate between similarly constructed structures? Can they recognize when shapes are symmetrical pairs
When creating 2D drawings, do students accurately represent the front/side view of the 3D sculpture? What might be contributing to any difficulties when representing the view as 2D?
Are students visualizing the shape of the structures by closing their eyes?
What spatial language are students using when discussing the structures?
Extension
Geometry Creature: Use 12 multilink cubes create a creature. Once students have created their creature, have them draw the front, top, and side views onto grid paper.
References
Moss, J., Bruce, C. D., Caswell, B., Flynn, T., & Hawes, Z. (2016). Taking Shape: Activities to Develop Geometric and Spatial Thinking. Toronto: Pearson Canada.
Related Lessons
Draw three-dimensional figures from top, side and front perspectives.
Build three-dimensional structures from three different perspectives.