Coding Pictures
Primary (Age 6 – 9)
Curriculum Goal
Primary: Patterning and Algebra
- Create, read and alter existing code that involves sequential events, and describe how changes to the code affect the outcomes.
Context
- Students play in pairs.
- Students should have familiarity with the following vocabulary: algorithm, program, and coding.
Materials
- Game board worksheets or graph paper, and programming cards (Appendix A)
- Markers, pens, or pencils
Lesson
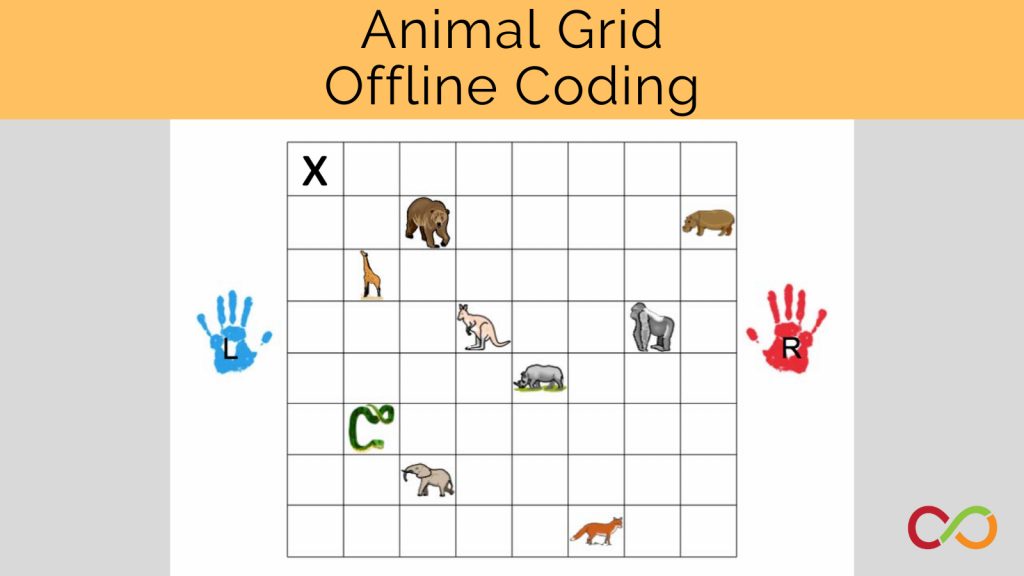
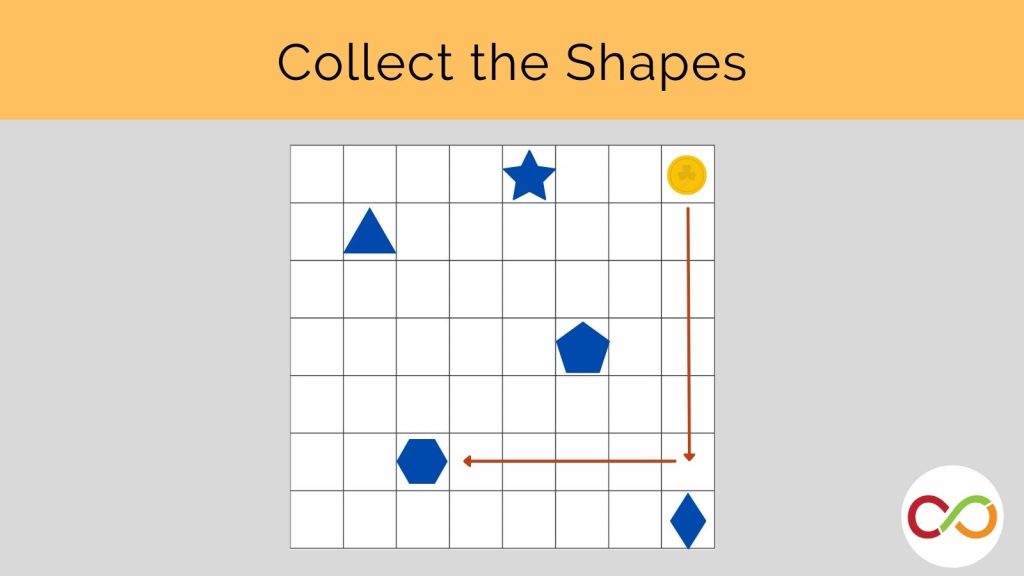
- One student will be the programmer and the other will be the decoder. The programmer chooses a game board (see Appendix A) to code for their decoder The programmer must ensure the decoder does not see the game board they chose.
- On the programming card, the programmer writes a step-by-step code that the decoder will use to recreate the game board. The code written always starts from the upper-left hand cell. The programmer will use the following symbols to write their code:

- The programmer can write the code in two ways:
- Only use symbols (e.g., →/→, to signify two squares to the right).
- Use numbers and symbols (e.g., 2 →, to signify two squares to the right).
- When the programmer finishes writing their code, the programmer hands their programming card to the decoder. The decoder follows the instructions to recreate the original game board. If the game board is not recreated, the programmer and decoder work together to recreate the gameboard.
- Students switch roles and play again.
Look Fors
- Can students accurately write a program for their partner to follow? Can students accurately follow the code given to them?
- Do students code the game board in the fewest number of steps?
Extension
- Decrease or increase the grid size (e.g., use a 4 x 4 grid or an 8 x 8 grid).
- Have students create and code their own drawing.
- Fill in squares with different colours so students can practice using more commands.
Created by Tami Wears. Adapted by The Robertson Program.
Share this lesson
Share on facebook
Share on twitter
Share on email


