Perspective Taking
Junior (Age 9 – 12)
Curriculum Goal
Junior: Geometry and Spatial Sense
- Draw top, front, and side views of objects, and match drawings with objects.
Context
- Teacher with 12 students sitting in a circle with 14 sculptures in the center.
Materials
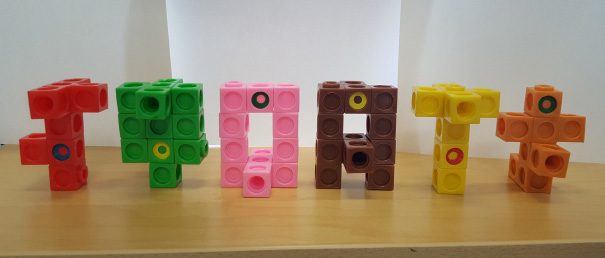
- 14 pre-assembled structures made of single-coloured multilink cubes: Two of each structure in Fig. 1; two of the distractor shape in Fig. 2
- Each structure is four cubes tall, but each varies in the total number of cubes used to construct it
- Each has a sticker indicating the front view
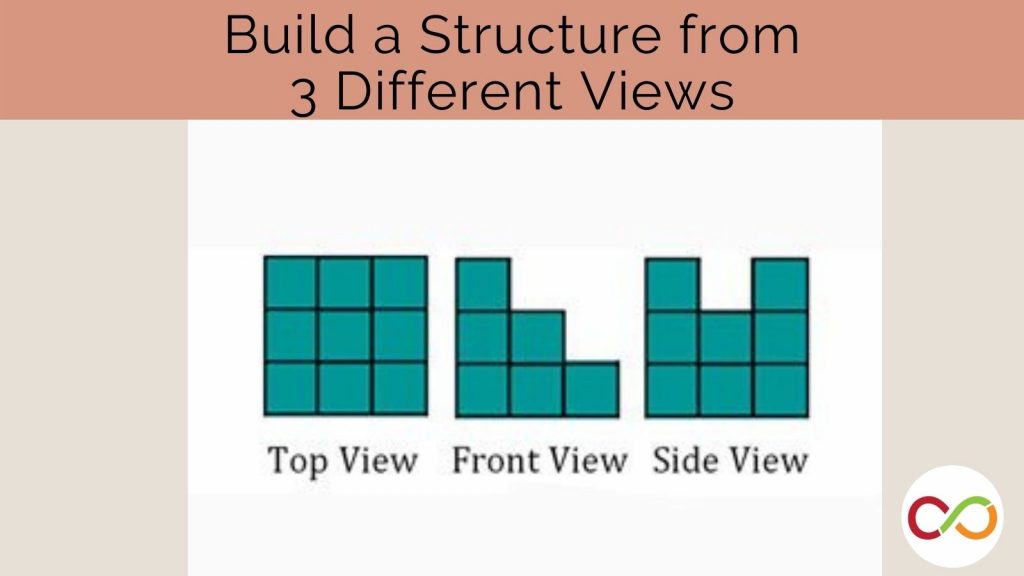
- All, except for the distractor sculpture, have a top view resembling a cross (Fig. 3)
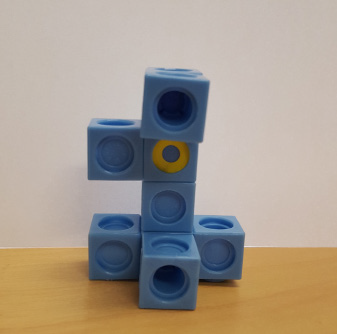

- Sheet with cross top view (Appendix A)
- Sheet with all six non-distractor front views (Appendix B)
- 2 × 2 cm grid paper (Appendix C)
- Multilink cubes
- Stickers (ring binder reinforcer)
- Marker
Lesson
Part 1: Top views
- Explain to students they will be judges in an architecture show that requires all sculptures entered to have a very specific top view.
- Show students the cross top view (Fig. 3), possibly provide each student with a copy.
- Ensure students understand what the top view is by using a “sculpture” as an example. Explain that there may be many ways to have the same top view.
- Invite students to walk around and look down at the sculptures to ensure each qualifies for the show (i.e., have the correct top view).
- Warn students there may be some sculptures that do not have the correct top view.
- After several minutes of investigating, have students announce the ineligible sculptures.
- Remove the disqualified sculptures; there should be 12 remaining. Distribute one to each child.
Part 2: Front views and side views
- Give each child the sheet with all six front views (Appendix B).
- Explain that the sculptures’ front views are marked by stickers. Have students identify which of the six drawings corresponds with their sculpture.
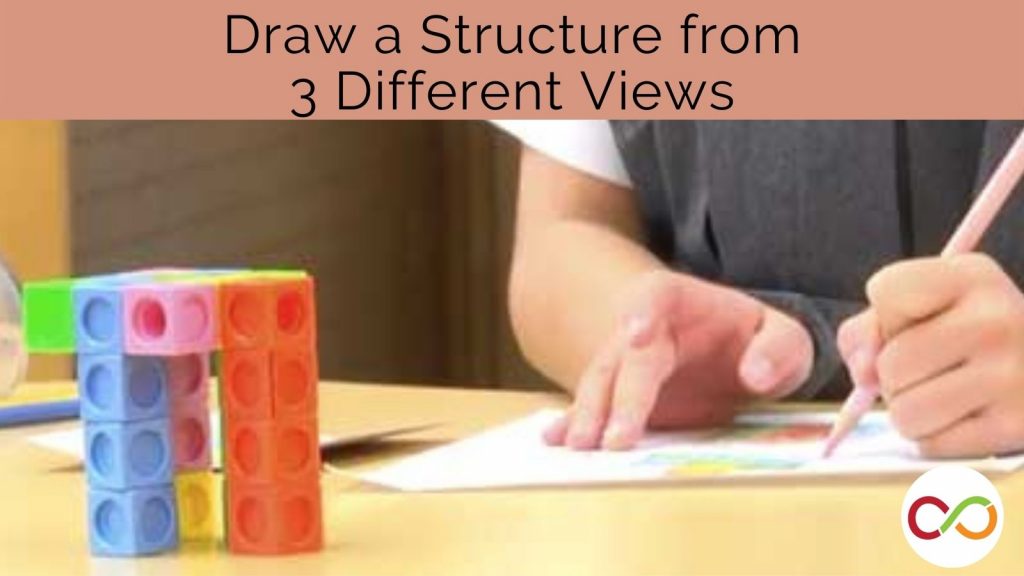
- Have students draw the side view of their sculpture on 2 x 2 cm grid paper.
Part 3: Build a sculpture and draw the three different views
- Invite students to build a sculpture of their choice with eight single-coloured cubes and mark the front side with a sticker.
- Have students draw and label each of the views on a grid paper.
Look Fors
- Are students able to differentiate between similarly constructed structures? Can they recognize
when shapes are symmetrical pairs - When creating 2D drawings, do students accurately represent the front/side view of the 3D
sculpture? What might be contributing to any difficulties when representing the view as 2D? - Are students visualizing the shape of the structures by closing their eyes?
- What spatial language are students using when discussing the structures?
Extension
- Geometry Creature: Use 12 multilink cubes create a creature. Once students have created their creature, have them draw the front, top, and side views onto grid paper.
References
Moss, J., Bruce, C. D., Caswell, B., Flynn, T., & Hawes, Z. (2016). Taking Shape: Activities to Develop Geometric and Spatial Thinking. Toronto: Pearson Canada.
Share this lesson
Share on facebook
Share on twitter
Share on email

